
Introduction to stocktaking and inventory tracking
In a research or analytical lab, many people share reagents, samples and equipment. Bottles and containers are often moved between different locations such as storage cabinets, shelves freezers, lab benches and fume hoods.
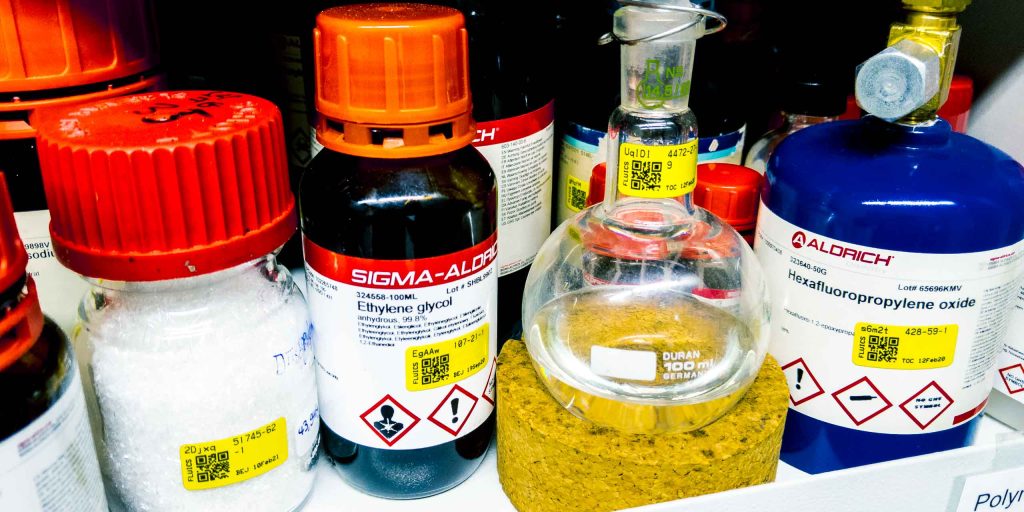
Several hundreds or few thousands of stored chemicals or samples can quickly accumulate in a lab. Trying to keep an overview by using spreadsheets is not only tedious, but also prone to manual errors.
The FLUICS CONNECT inventory app solves this problem by using unique a mobile app and smart labels for items and locations with text and QR codes.
Why is it important?
Keeping your inventory database updated…
- … helps to save a lot of time and avoid frustration by quickly finding samples and reagents.
- … saves a lot of money by preventing unnecessary double orders.
- … builds trust with your investors or other stakeholders.
- … can be required by regulatory audits or risk assessments (e.g. lab safety or bio safety)
How long does it take?
Updating an inventory Excel sheet of a safety cabinet with several hundreds of stored flasks and containers takes two people and roughly three hours.
With the FLUICS CONNECT mobile app it takes one single person only 20 minutes (only 6 % of the time) to update several hundreds of items in an error-free way using the bulk scan feature.
Let’s get started:
Prepare your workspace
Add a new sublocation called “Lost & found” in the root location of your FLUICS CONNECT workspace.

Click here to download the icon and use it in your own workspace, or use any other picture you want.

Update your lab inventory
The following steps are also demonstrated in our short tutorial video? Click here to watch.
- Go to the lab: Pick a storage location you want to update. E.g. a shelf in a safety cabinet or a cryo box in a liquid nitrogen tank.
- Scan location label to navigate to the corresponding sublocation.
- Move all workspace items temporarily to “Lost & found”:
- Open a new bulk scan session via drag and drop of the scan button.

- Scan all FLUICS CONNECT QR codes on the bottles or containers to add them to the scan session. Put everything without a FLUICS label aside to later register it in the workspace.
- Confirm the bulk scan session and move all scanned items back to their original storage location – by scanning the location label of the box or shelf.
- Repeat from step 1 for other sublocations until the whole lab inventory database is up to date.
What is the result?
When finished with the above described procedure you can rest assured that your storage database is up to date. ✅
Remaining items in the sublocation “Lost & found” have been either disposed and can be archived or hide in a sublocation that was not yet updated. 😉