
Working with templates
In this tutorial you learn how you can use the template function for registering new samples of the same type which means that they all have the same properties.
We assume you want to register chemical reagents, but the logic is the same if you deal with cells, proteins, antibodies, etc..
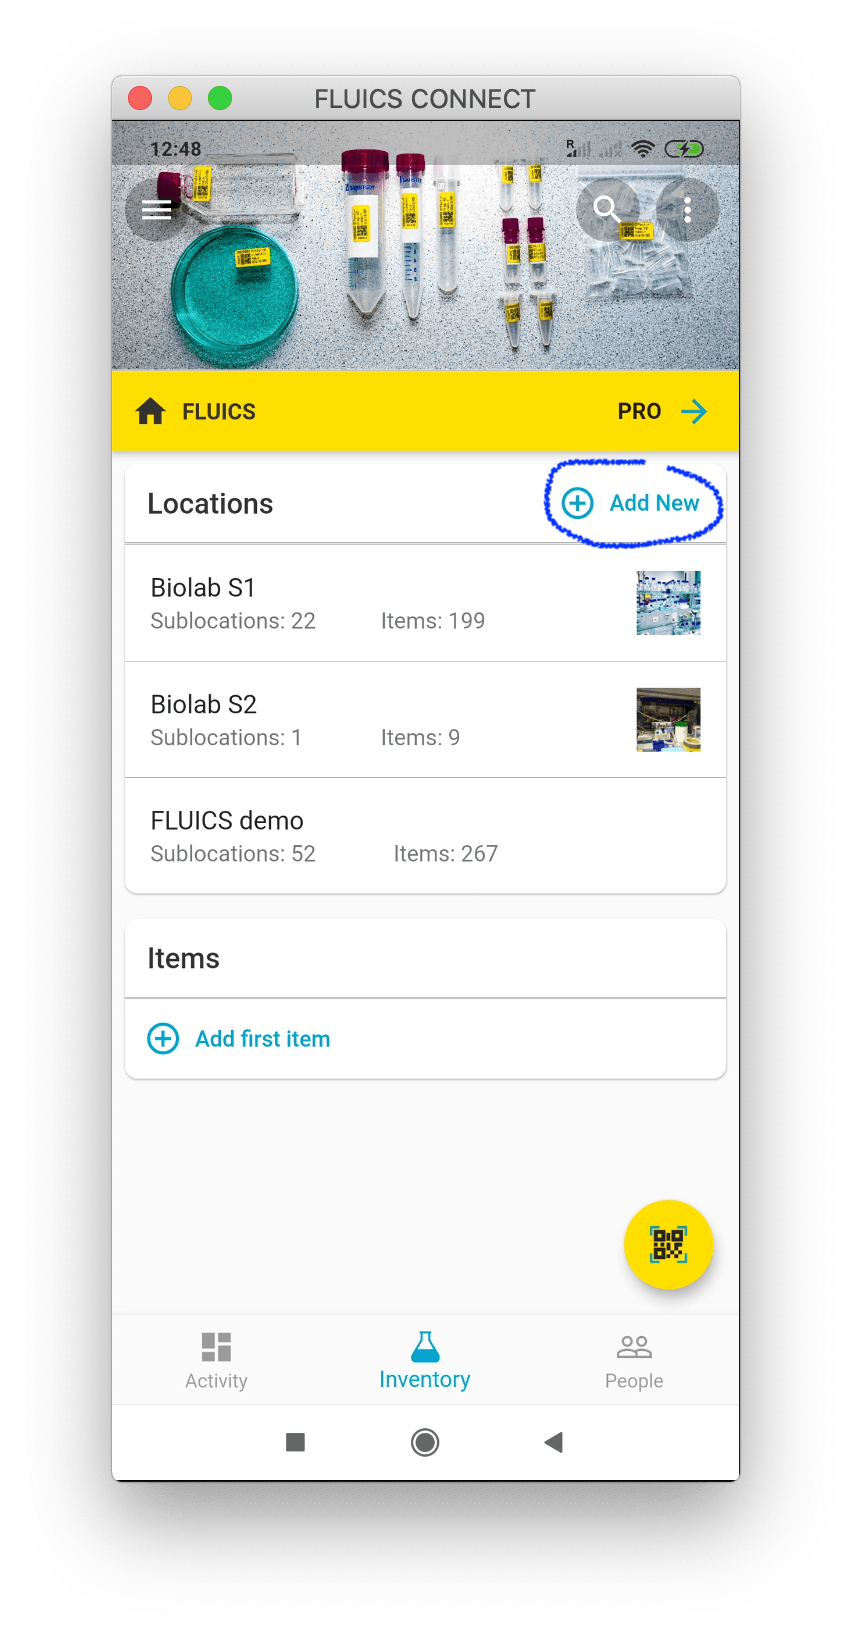
1. Add a new location to you root folder and call it “Templates”. Use this virtual location to store your templates.

2. Add a new single item, specify its name “Reagents Template” and place it in the location “Templates”.

3. Add the relevant properties to this sample that shall be saved in the template.
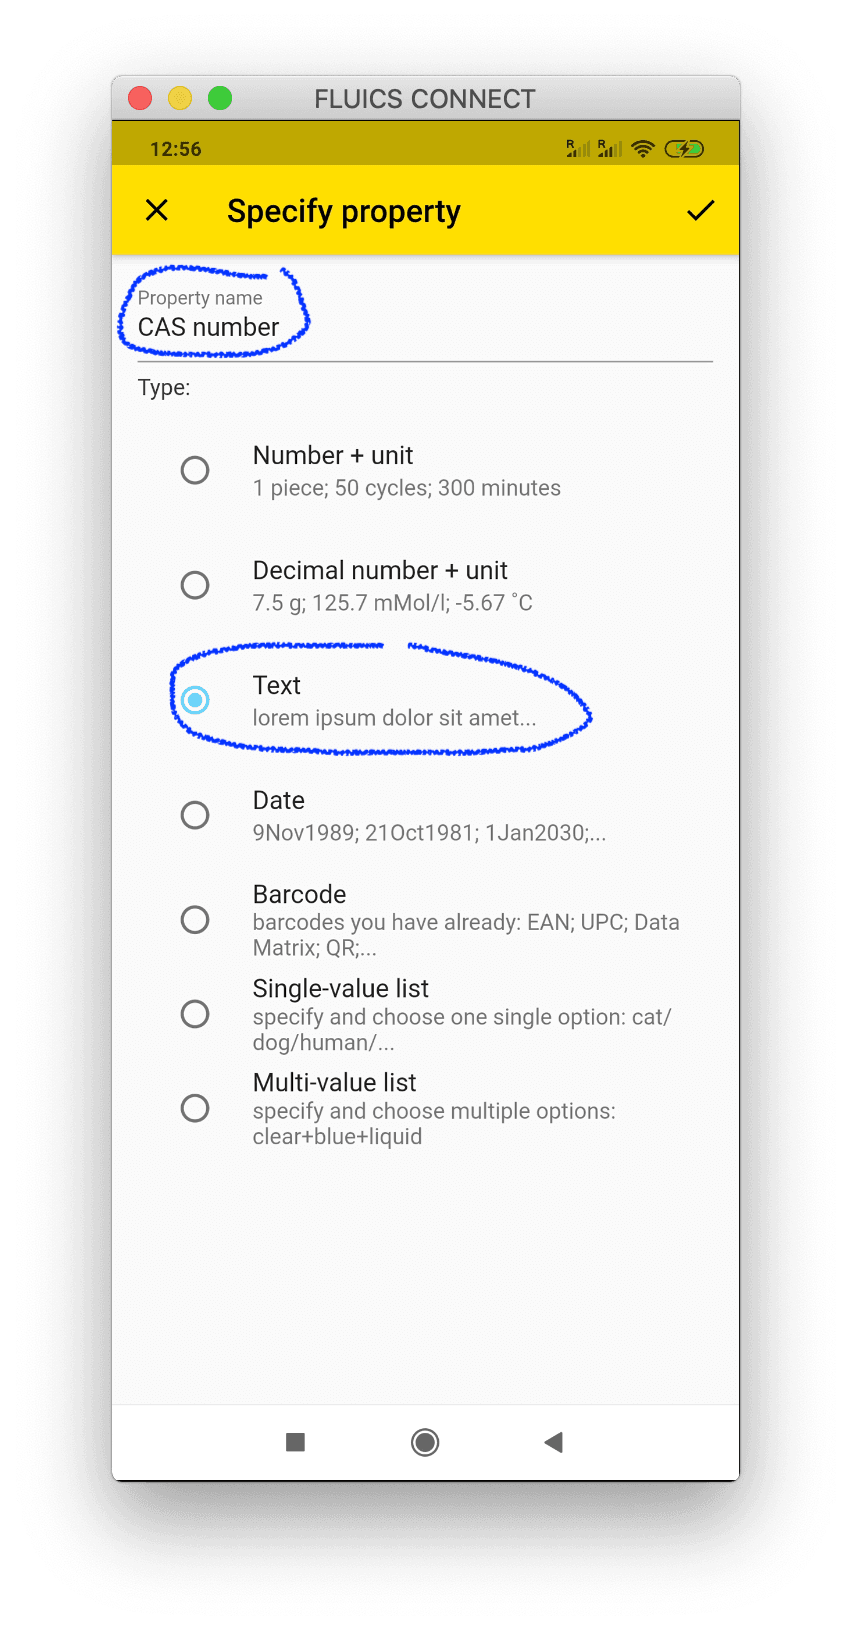
4. Specify the name of the property and choose an input field type.

5. Specify each property with an example value. This will help you or other users to remember what input is expected.
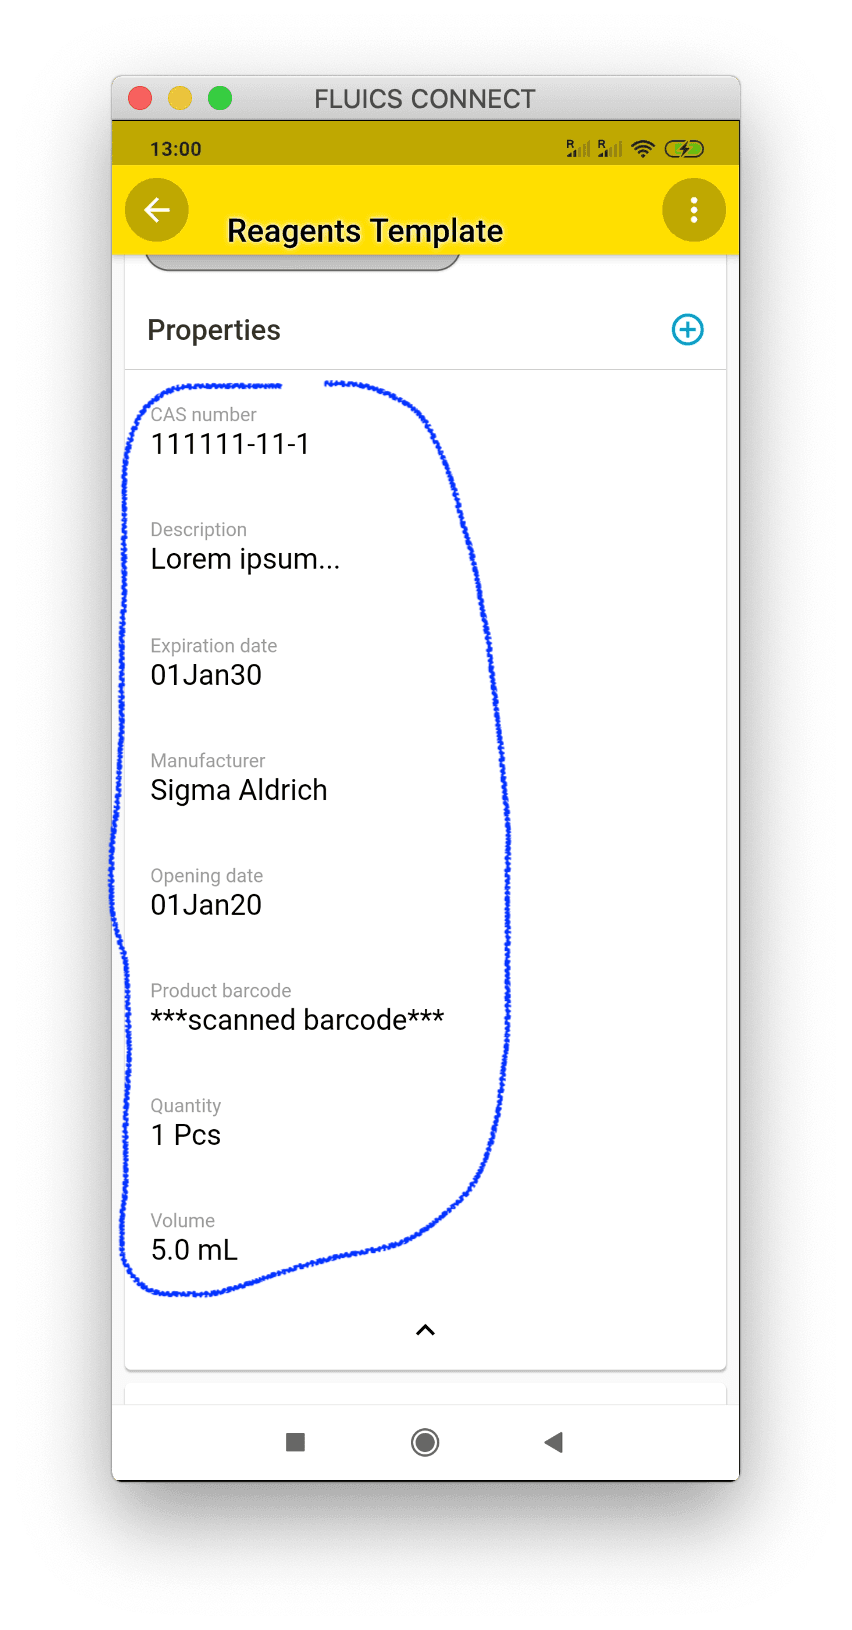
6. In this examples we added the following properties:
CAS number (Text): 111111-11-1
Expiration (Date): 1.1.2030
Manufacturer (Single value list): Sigma Aldrich
Opening date (Date): 1.1.2020
Product barcode (Barcode):
Volume (Decimal number+unit): 5 mL
For the Single value list, you start with one name and the list will get longer as soon as you add new items from different Manufacturers

7.Congratulations! You are done with setting up you item template.
Now you can start using the template by clicking on the action menu (3 little dots)
Note: you can do the following steps with any item in your database. Setting up the item template in a virtual template folder just helps you to better find the templates you use in your lab.

8. Tap on “Use as template”
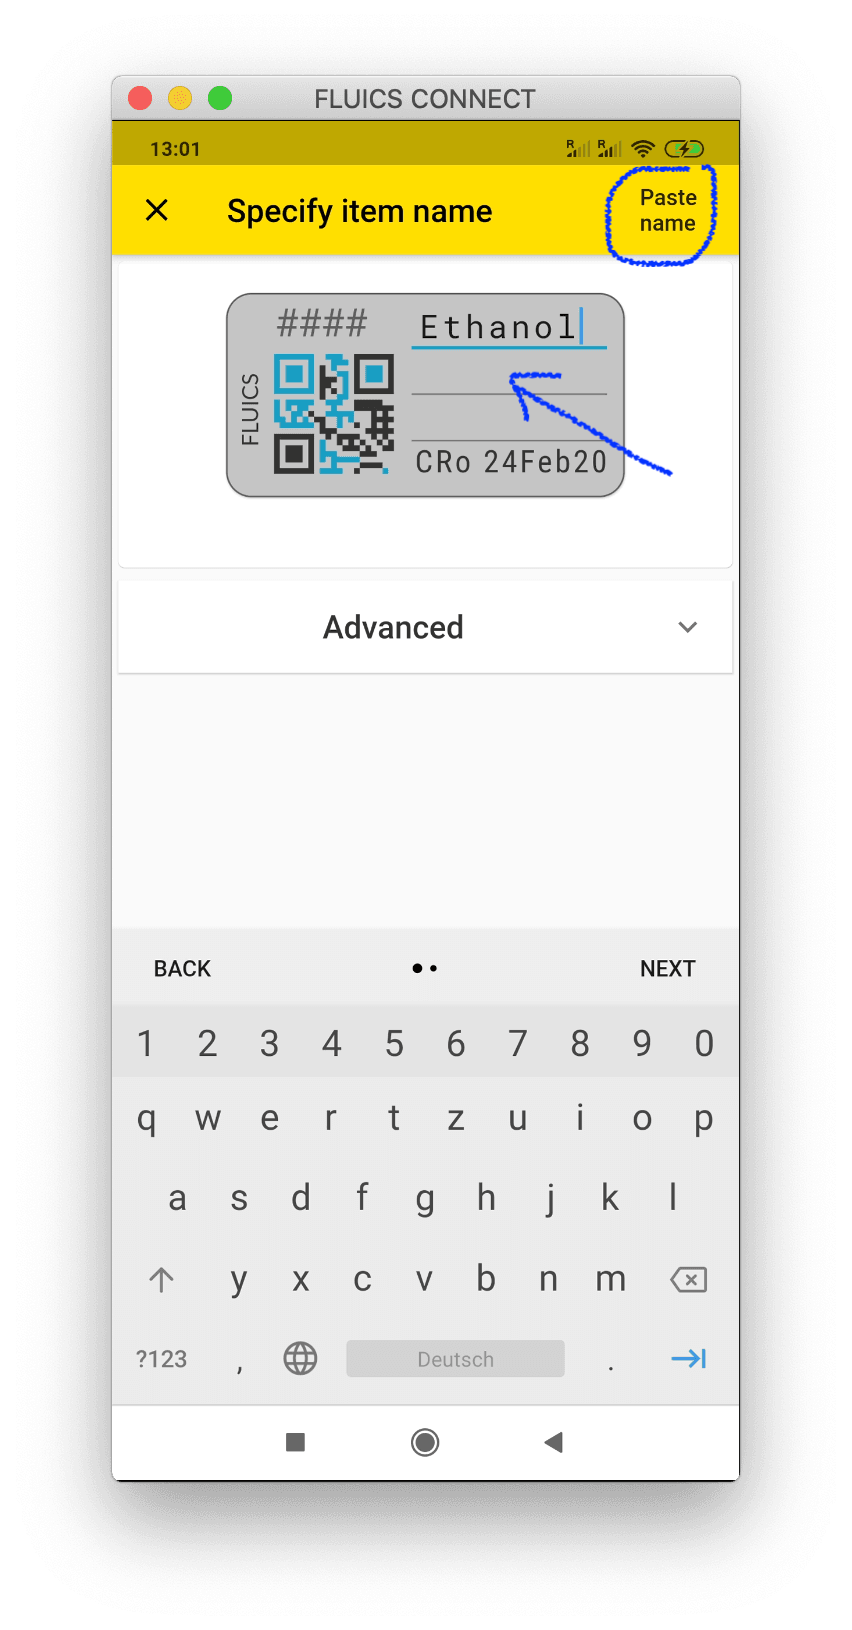
9. Optionally you an also click on “Paste name” and then modify the name.

10. Specify the storage location where your new item shall be stored and confirm with the yellow check button.

11. Voilà! Your new item is stored. Expand the properties section to see all the relevant properties.

12. Finally, you only need to quickly tap on the property to fill in the corresponding values.